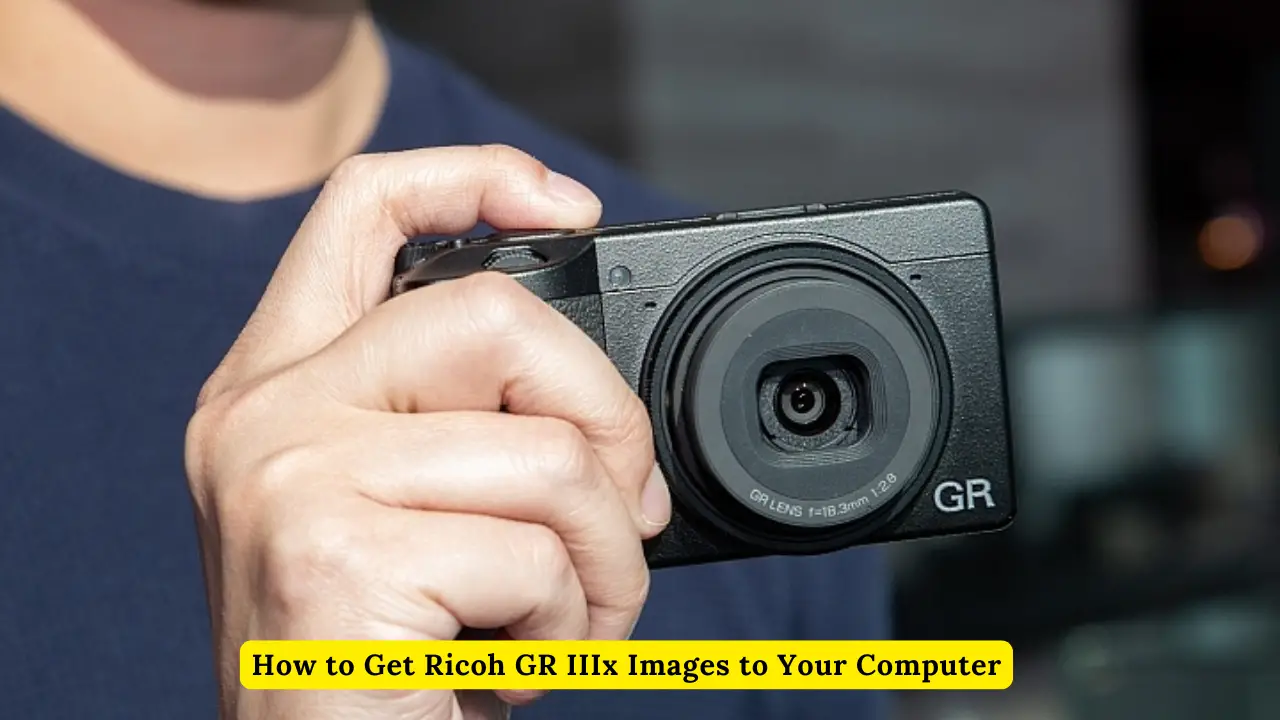
How to Get Ricoh GR IIIx Images to Your Computer
The Ricoh GR IIIx is a high-performance compact camera known for its excellent image quality and advanced features. Transferring images from your Ricoh GR IIIx to your computer can be essential for editing, organizing, or sharing your photos. This guide provides a comprehensive overview of how to efficiently transfer images from your Ricoh GR IIIx to your computer, including various methods and tips to ensure a smooth process. How to Get Ricoh GR IIIx Images to Your Computer
Your Ricoh GR IIIx
Before diving into the transfer methods, it’s helpful to understand the features of the Ricoh GR IIIx:
- High-Resolution Sensor: The GR IIIx features a 24.2-megapixel APS-C sensor, which captures detailed and high-quality images.
- Built-in Wi-Fi and Bluetooth: These connectivity options facilitate wireless image transfer and remote camera control.
- Compact Design: Its portable size makes it easy to carry and use for various photography needs.
Pro Tip: Familiarizing yourself with your camera’s settings and connectivity options will streamline the image transfer process.
Method 1: Transferring Images via USB Cable
1. Connect the Camera to Your Computer
To transfer images using a USB cable:
- Turn Off the Camera: Ensure your Ricoh GR IIIx is turned off before connecting it to your computer.
- Use the Provided USB Cable: Connect one end of the USB cable to the camera’s USB port and the other end to an available USB port on your computer.
- Turn On the Camera: Power on your Ricoh GR IIIx. Your computer should recognize the camera as a removable device.
2. Access and Transfer Files
- Open File Explorer (Windows) or Finder (Mac): Your computer will detect the camera as a storage device.
- Navigate to the Camera’s Storage: Locate the camera’s storage drive (often labeled as “Removable Disk” or with the camera’s model name).
- Find Your Images: Go to the folder where the images are stored, typically under “DCIM” or a similar directory.
- Copy and Paste Images: Select the images you want to transfer, copy them, and paste them into a desired folder on your computer.
Pro Tip: Ensure that your camera’s battery is sufficiently charged or connect it to a power source during the transfer to avoid interruptions.
Method 2: Using the Camera’s Wi-Fi and Bluetooth Connectivity
1. Install Ricoh Imaging Application
- Download the App: Install the Ricoh Image Sync app on your smartphone or tablet from the Google Play Store or Apple App Store.
- Pair Your Devices: Ensure your smartphone or tablet is connected to the same Wi-Fi network as your camera.
2. Connect and Transfer Images
- Enable Wi-Fi on Your Camera: Navigate to the camera’s menu, select the Wi-Fi settings, and turn on the Wi-Fi feature.
- Connect to the App: Open the Ricoh Image Sync app on your smartphone or tablet and follow the prompts to connect to your Ricoh GR IIIx.
- Select and Transfer Images: Once connected, you can view and select the images you want to transfer to your smartphone or tablet.
3. Transfer from Smartphone/Tablet to Computer
- Connect Your Smartphone/Tablet to Your Computer: Use a USB cable to connect your mobile device to your computer.
- Transfer Files: Access the files from your smartphone or tablet and transfer them to your computer as you would with any other file.
Pro Tip: Ensure your Ricoh GR IIIx firmware and the Ricoh Image Sync app are updated to the latest versions to ensure compatibility and performance.
Method 3: Using a Memory Card Reader
1. Remove the Memory Card from Your Camera
- Power Off the Camera: Turn off your Ricoh GR IIIx before removing the memory card.
- Open the Card Slot: Locate and open the memory card slot on your camera.
- Eject the Memory Card: Carefully remove the SD card from the slot.
2. Insert the Memory Card into a Card Reader
- Use a Card Reader: Insert the SD card into a compatible memory card reader.
- Connect the Reader to Your Computer: Plug the card reader into a USB port on your computer.
3. Transfer Images
- Open File Explorer (Windows) or Finder (Mac): The card reader will be recognized as a removable drive.
- Locate the Images: Navigate to the folder containing your images, usually found under “DCIM.”
- Copy and Paste Files: Select the desired images, copy them, and paste them into a folder on your computer.
Pro Tip: Regularly back up your images to avoid data loss and ensure you have a copy of your photos in multiple locations.
Troubleshooting Tips
1. Camera Not Recognized
- Check Connections: Ensure all cables are securely connected and try a different USB port.
- Update Drivers: Make sure your computer’s USB drivers are up to date.
- Restart Devices: Restart both your Ricoh GR IIIx and your computer to resolve connection issues.
2. Transfer Speed Issues
- Check Card Speed: Use a high-speed SD card to improve transfer rates.
- Avoid Large Files: Transfer smaller batches of images to avoid slowing down the process.
Pro Tip: Keep your camera’s firmware updated to ensure compatibility with your computer and other devices.
Conclusion
Transferring images from your Ricoh GR IIIx to your computer can be done efficiently using a USB cable, wireless connectivity, or a memory card reader. Each method offers its advantages, and the choice may depend on your specific needs and preferences. By following the steps outlined in this guide, you can ensure a smooth and hassle-free image transfer process, allowing you to manage, edit, and enjoy your photos with ease.


